
Quick Art Guide
This Quick Art Guide expands on my Art Supply List with added in-depth explanations, short tutorials, and more insights to help you get the most out of your art supplies.

What you need to know about this QUICK ART GUIDE:
This Quick Art Guide expands on my Art Supply Guide with in-depth explanations, short tutorials, and valuable insights to help you get the most out of your art supplies. Whether you're a seasoned artist or just starting your artistic journey, having the right tools can make all the difference.
In this guide, you'll find:
A list of my favorite paints, brushes, and more. All essential for creating a beautiful piece of artwork.
Product Breakdowns: Brief descriptions of each item, and what I use it for.
Pro Tips & Short Tutorials: I included a lot of my personal tips of how I do things to make my life as an artist easier, as well as links to a lot of short tutorials.
Click-through links for each item (I found the highest quality items at the cheapest price!), making it easy for you to purchase them directly from Amazon, Blick, or brand's website using a discount code.
My ART COURSE covers each topic in depth, including video tutorials and step-by-step explanations. Sign up for my art course here.
Now, let's dive right into it!
affiliate note
This page contains affiliate links. If you choose to purchase through these links, I may earn a small commission at no extra cost to you. Your support helps me keep creating art and resources like this, and allows me support other artists on their creative journeys! Thank you!
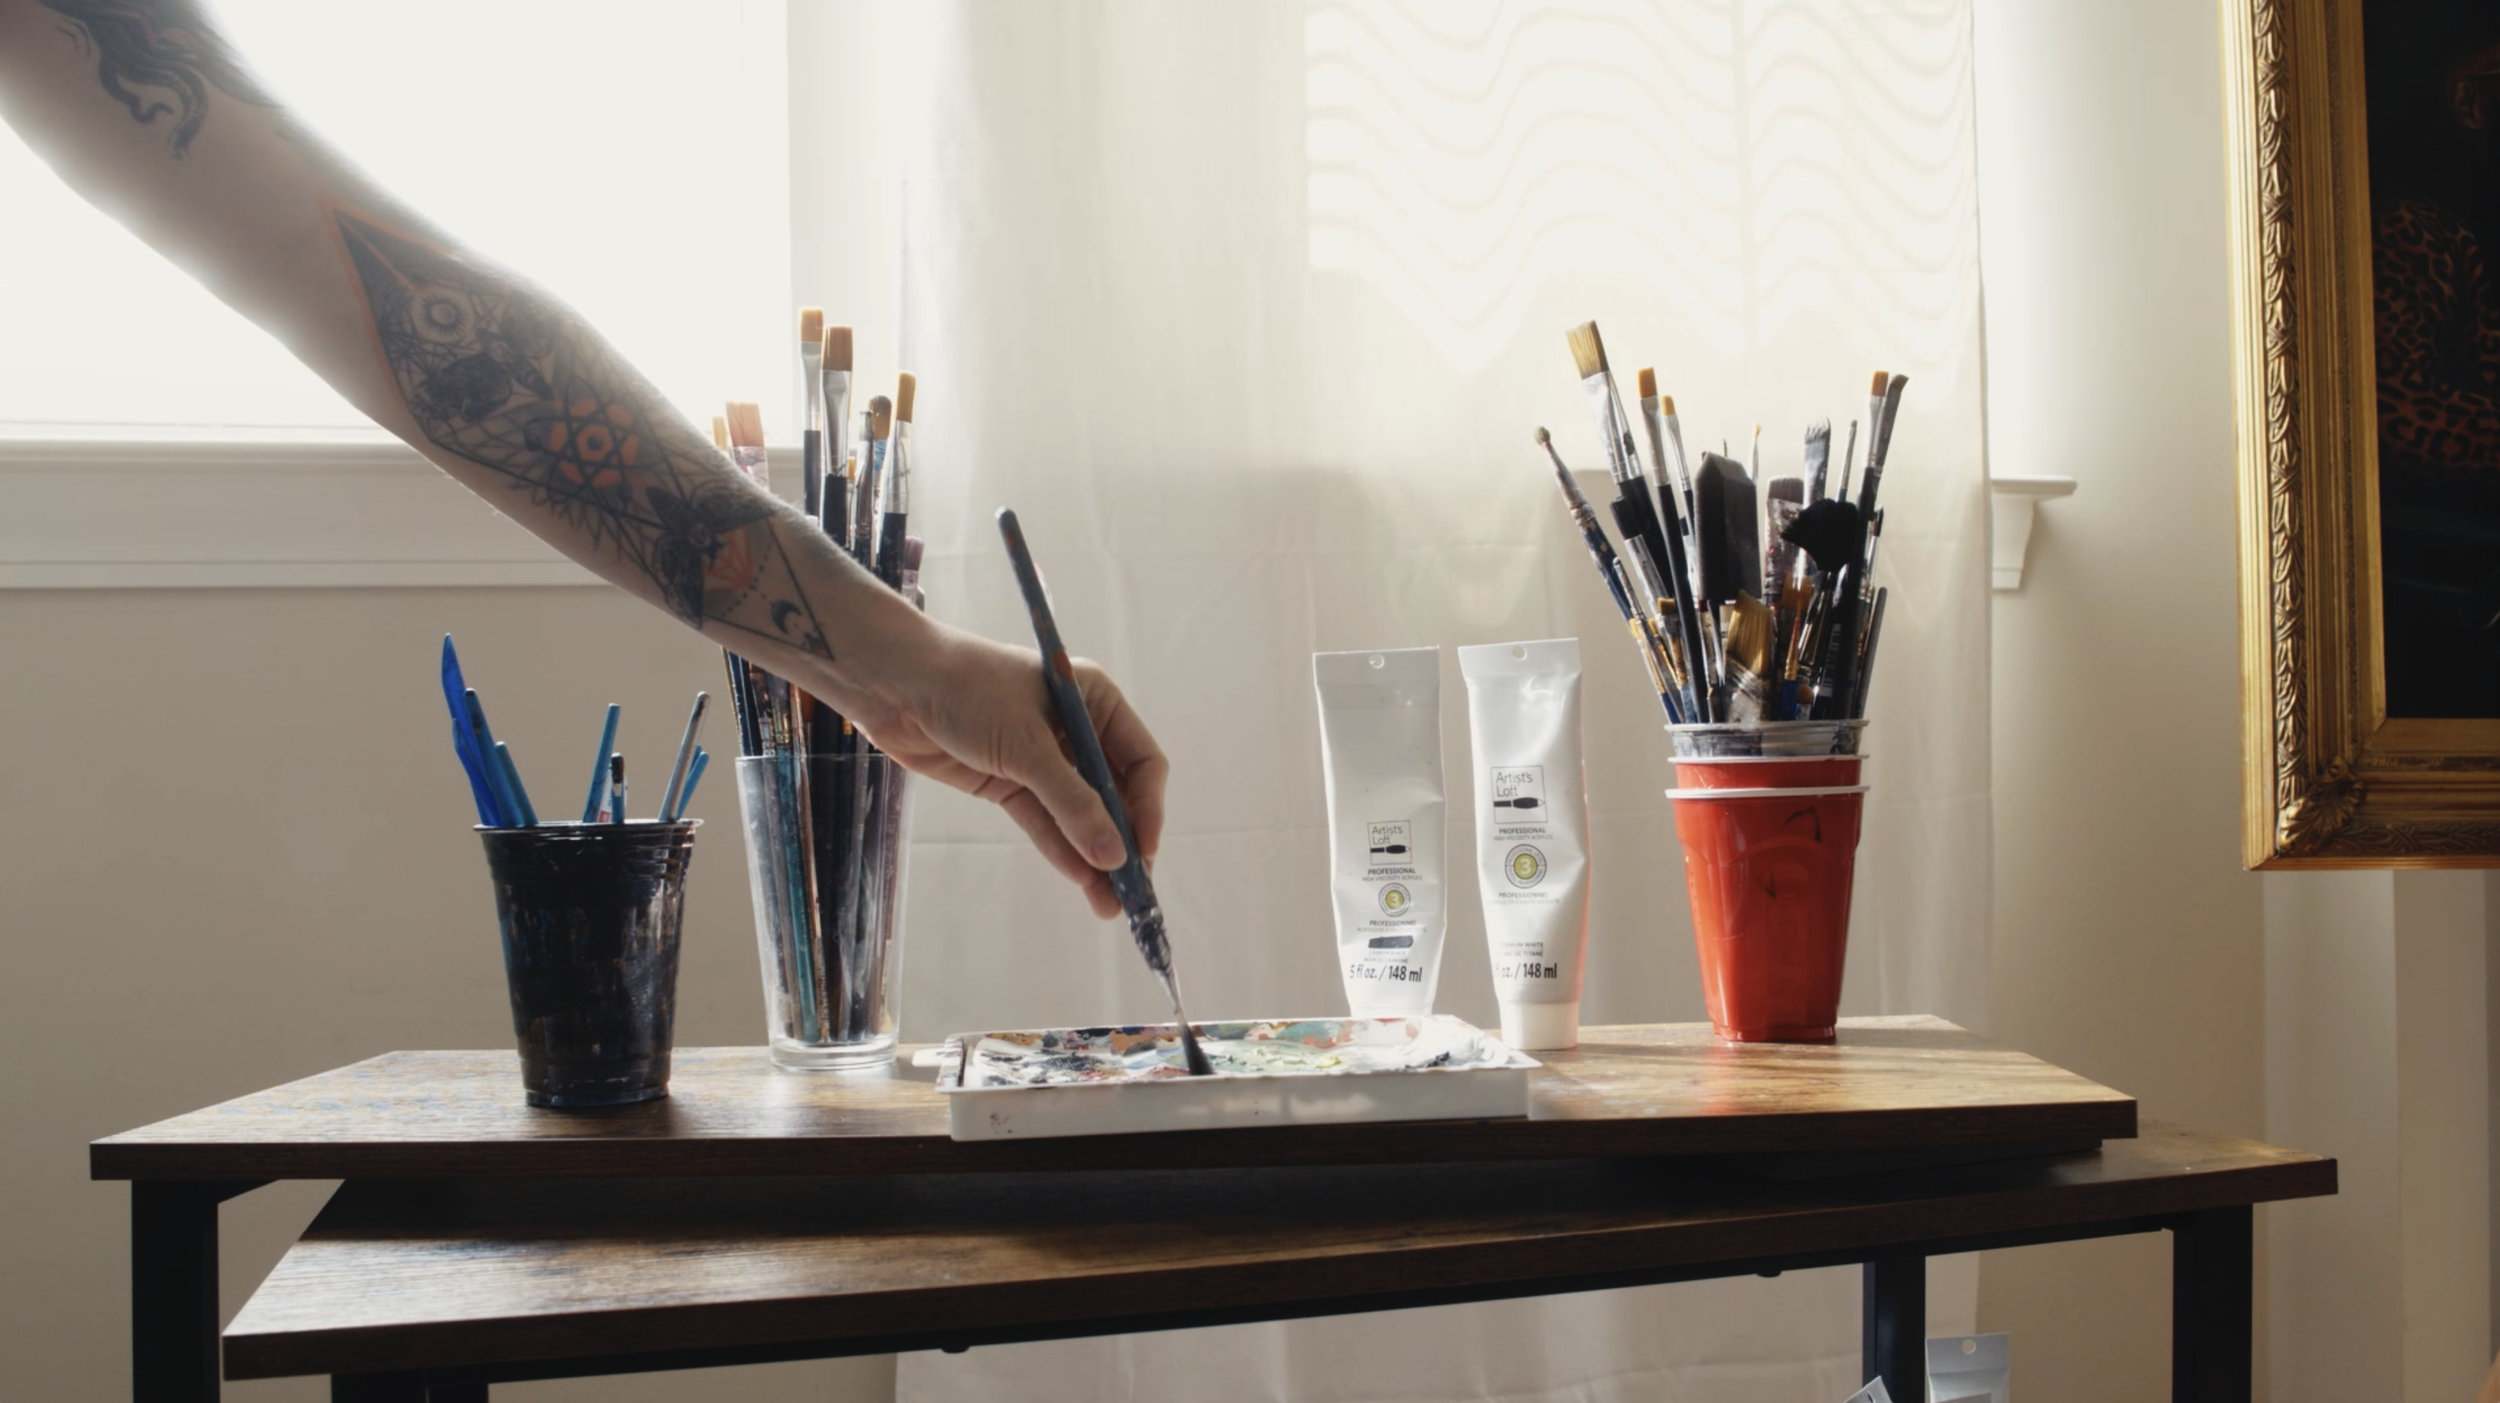
BRUSHES.
My go-to brushes are all by PRINCETON ARTIST BRUSHES. I love their quality, price and performance.

round brush…..
My second most used brush is the Princeton Select Round. It is perfect for fine lines like hair, lashes, eyebrows. I also use it for tiny details like dots (pores, moles, freckles etc.).
Buy on Blick:

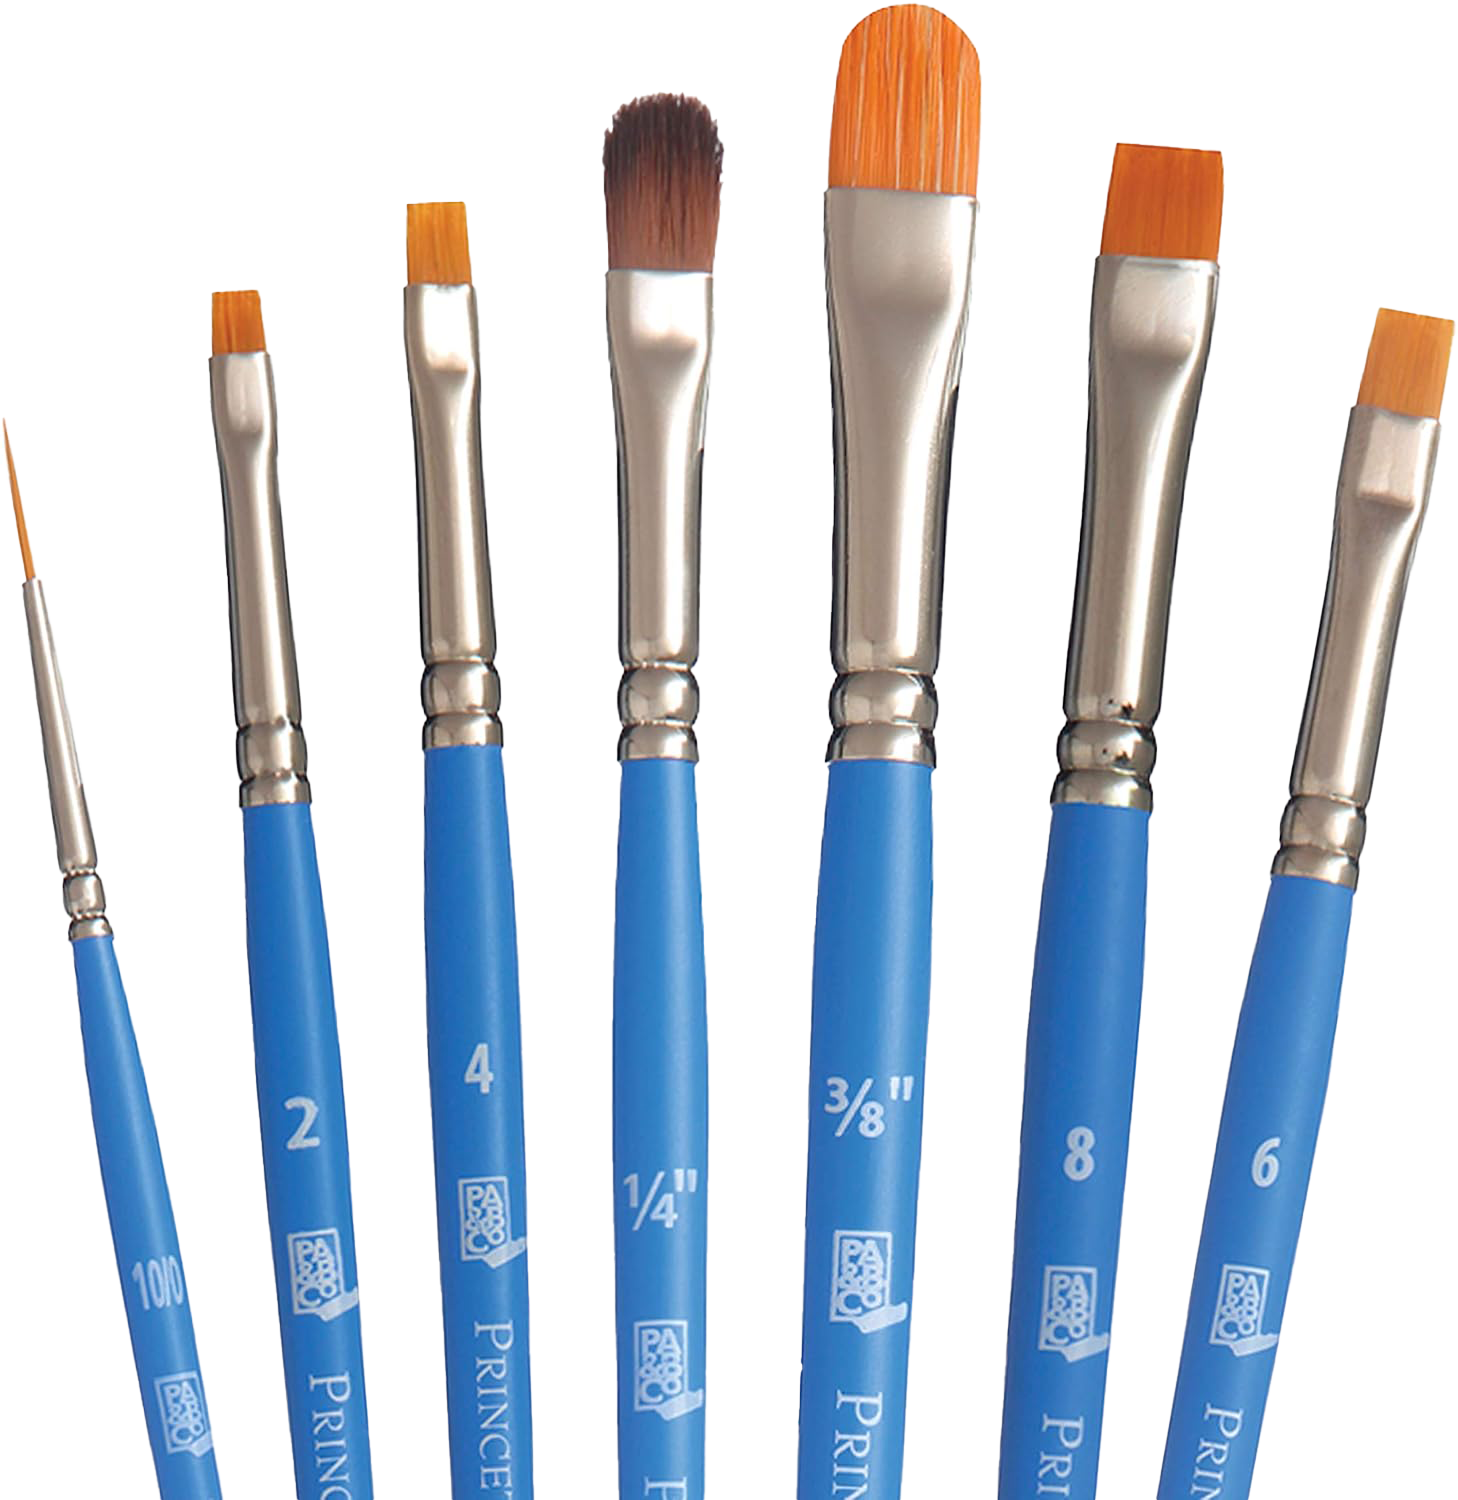
Chisel
Blender…..
The Chisel Blender is my most used brush! I own almost every size they offer and use them for blending, details and covering big areas evenly.
You might have to break them in a little bit before they show their full potential. Their smallest size (Size 2) is perfect for tiny detailed areas.
Buy on Amazon:
Buy on Blick:

grainer brush…..
The Grainer brush is what I use for big batches of hair. It makes the
job so easy because you can paint multiple single hair strands at once.
Buy on Amazon:
Buy on Blick:
Perfect Starter Sets…..
Buy on Amazon:
Buy on Blick:
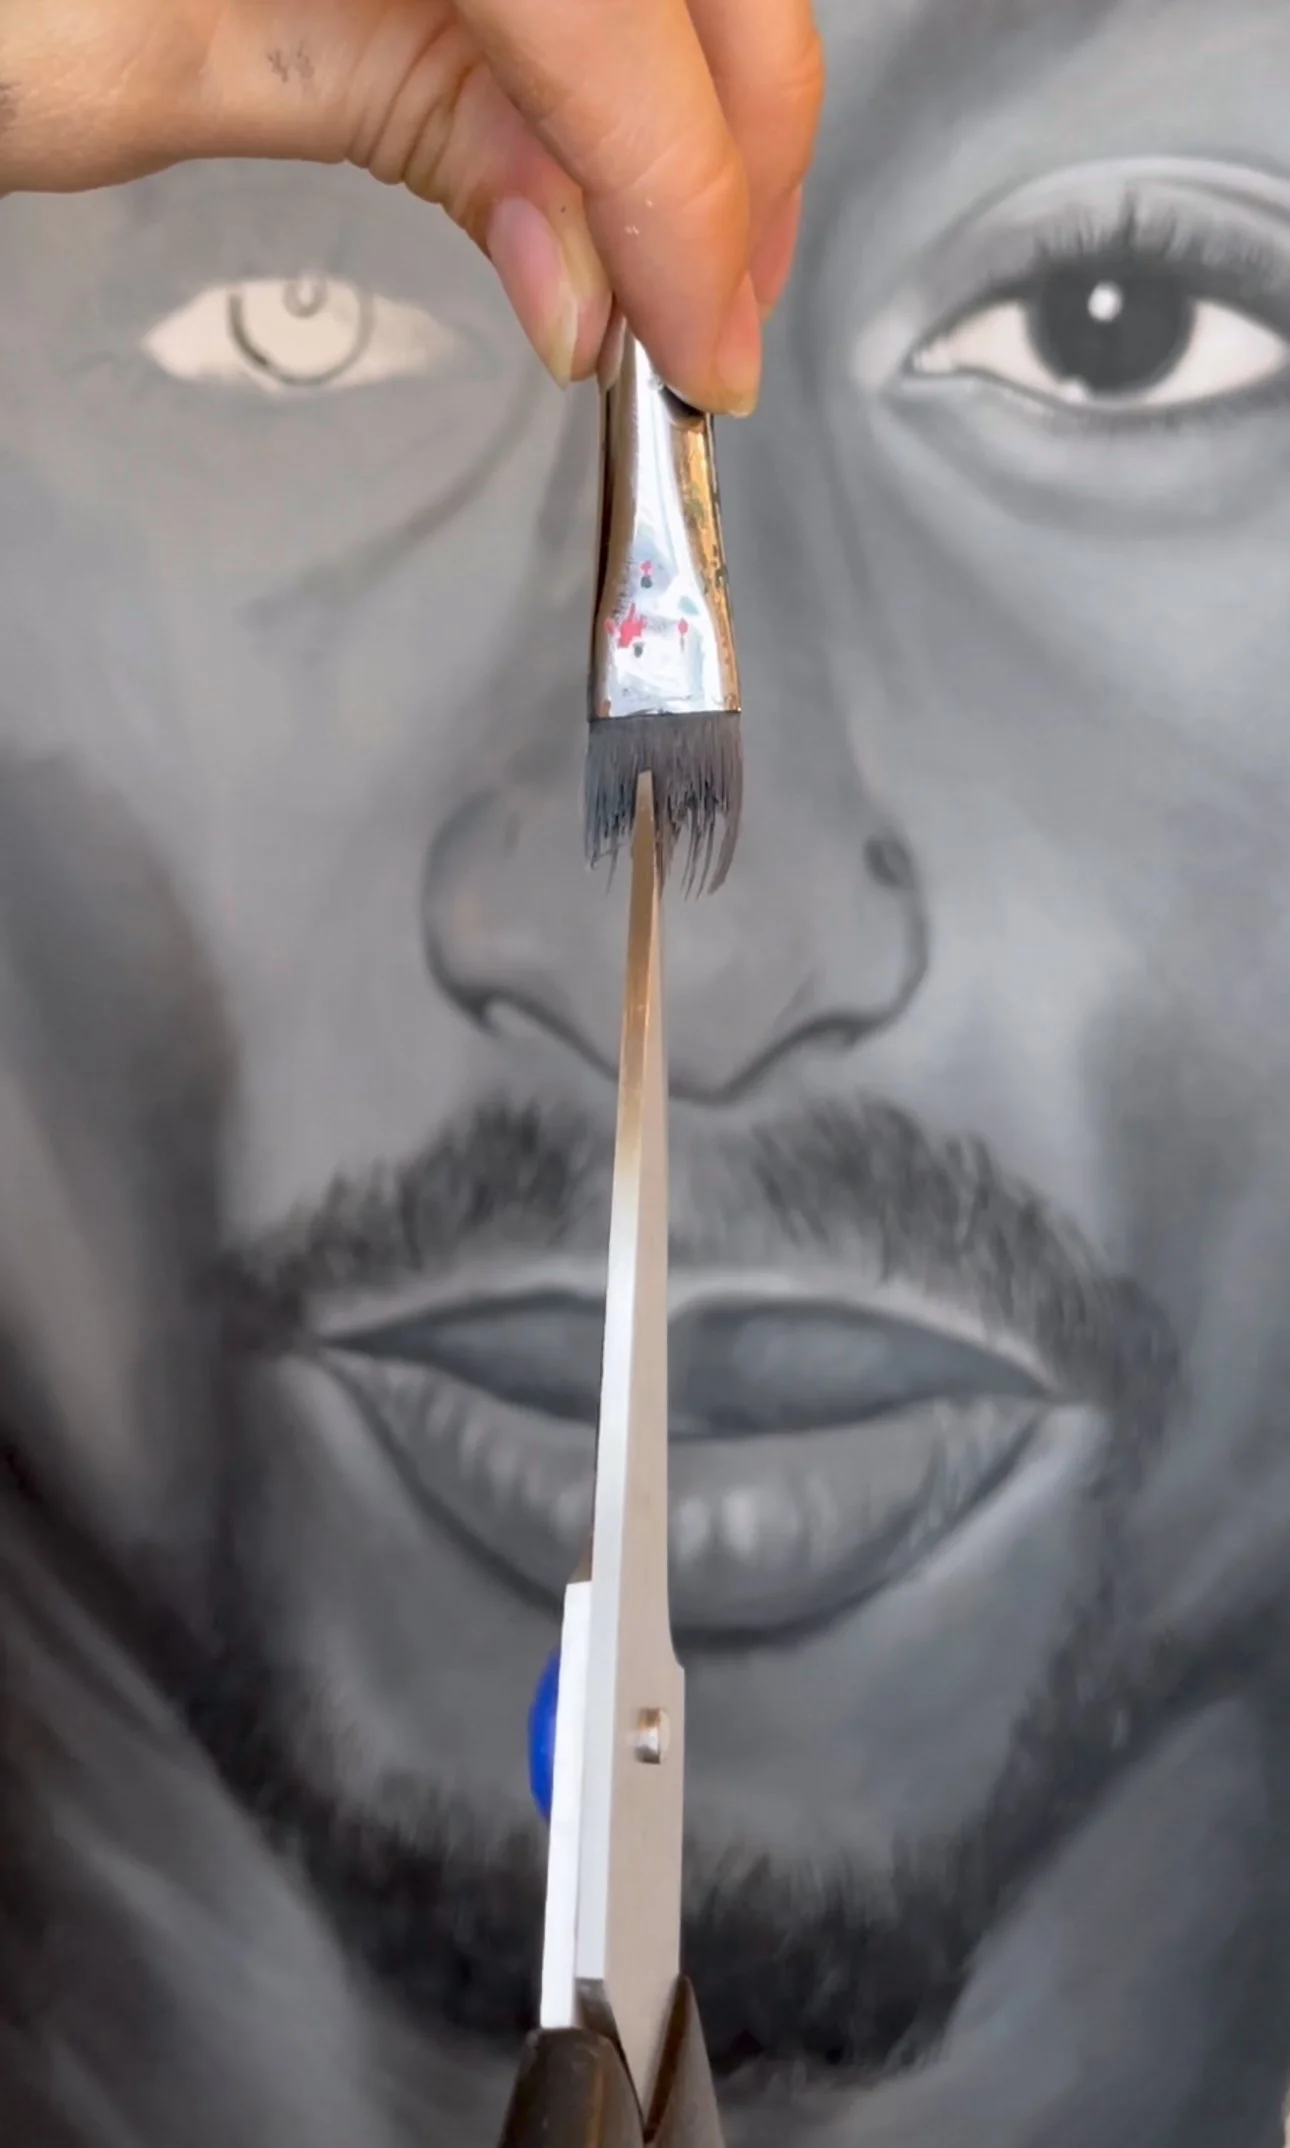
Pro Tip:
Use an old flat brush and cut out little chunks of the brush to turn into a DIY Grainer Brush. This has the benefit that you can decide how thin/thick you want the strands to be.
Click here for TikTok Tutorial
acrylic paint.
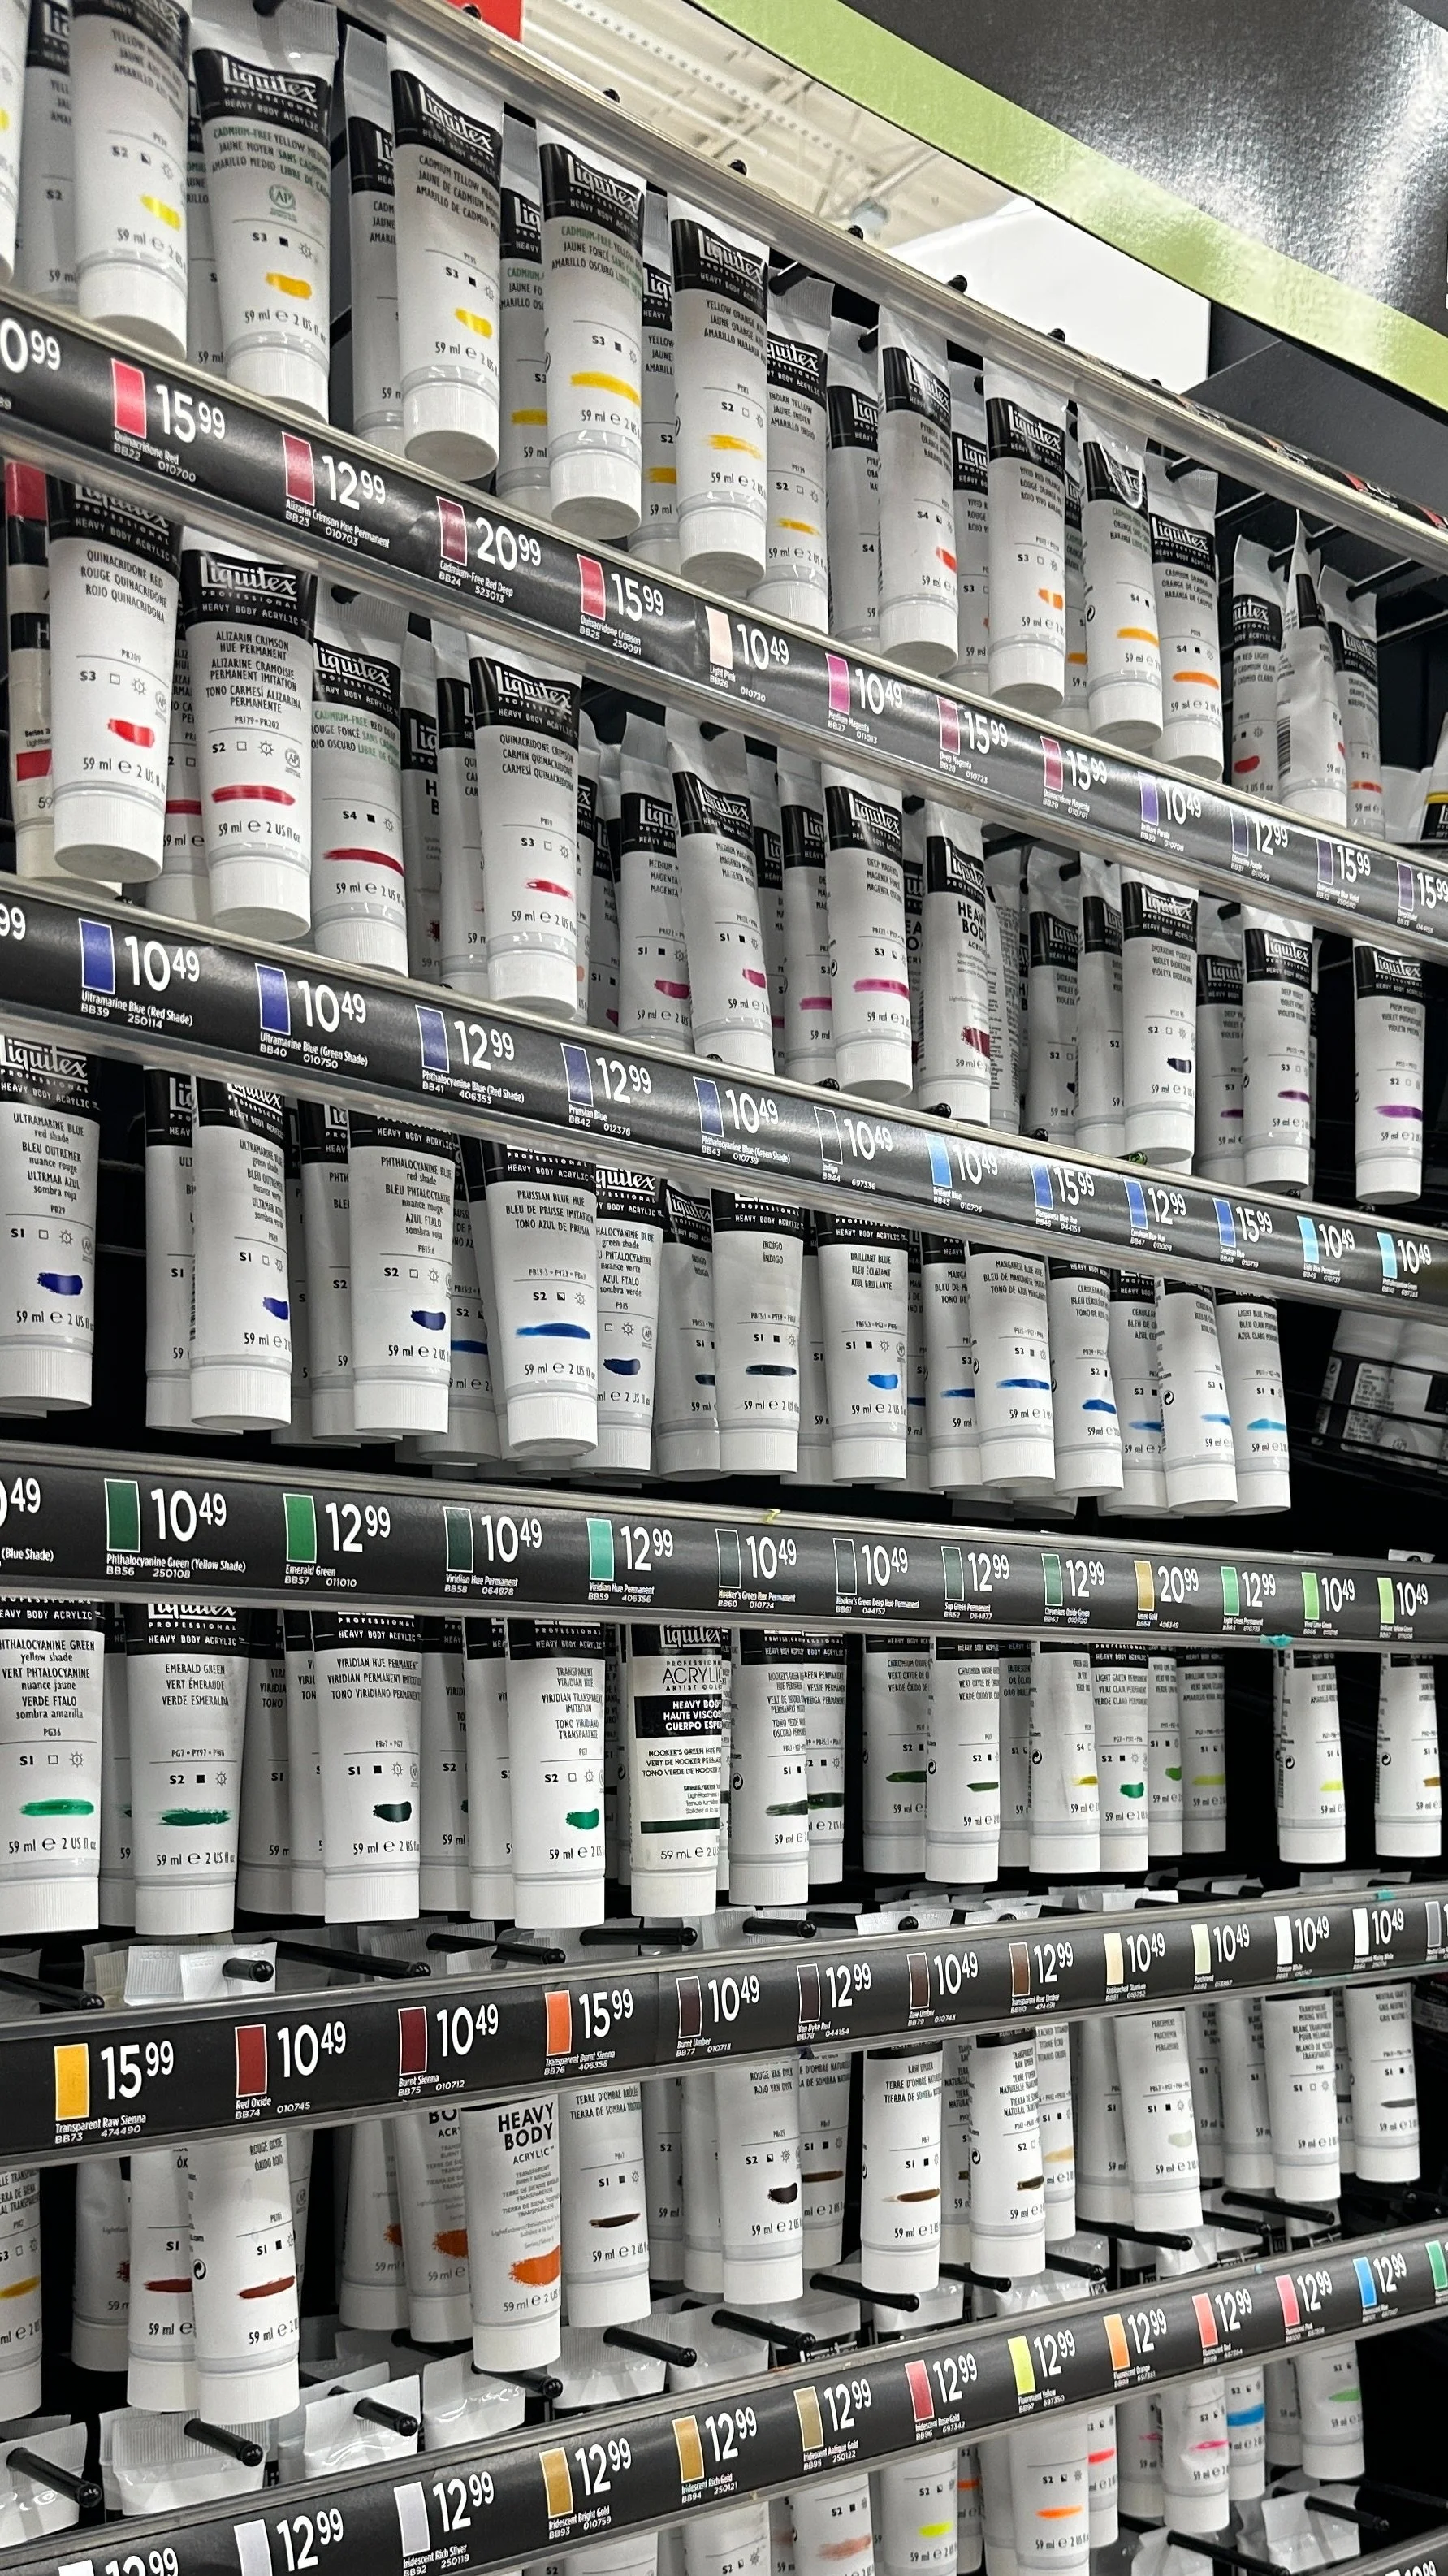
I mainly use Heavy Body Acrylics. My go-to brands are GOLDEN and Liquitex.
Which brand is better?
Are you wondering if you should rather go with GOLDEN Acrylics or Liquitex? I can say that it is mostly about preference. Sometimes, one is cheaper than the other. In general, I would say they are on the same level quality-wise. I personally find Liquitex tubes easier to handle, however, GOLDEN is more often cheaper and has a Carbon Black option, which Liquitex does not (Carbon Black is the darkest truest black in my opinion).
Below, you can find my most used colors. Keep in mind that if you need more paint, larger tubes/jars might be a better option for you since they are cheaper per oz.
Colors marked with * are used when I mix skin tones.
HEAVY BODY ACRYLIC PAINT…

Buy on Amazon:

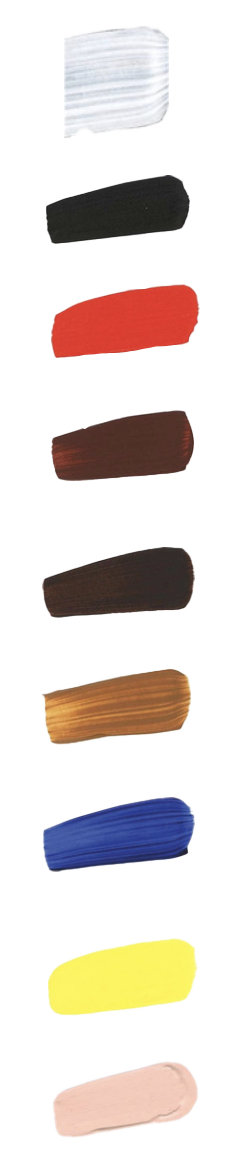
GOLDEN ACRYLICS:
Titanium White
Carbon Black
Cadmium Red Light
Burnt Sienna
Burnt Umber
Raw Sienna
Ultramarine Blue
Primary Yellow
Titan Mars Pale
LIQUITEX ACRYLICS:
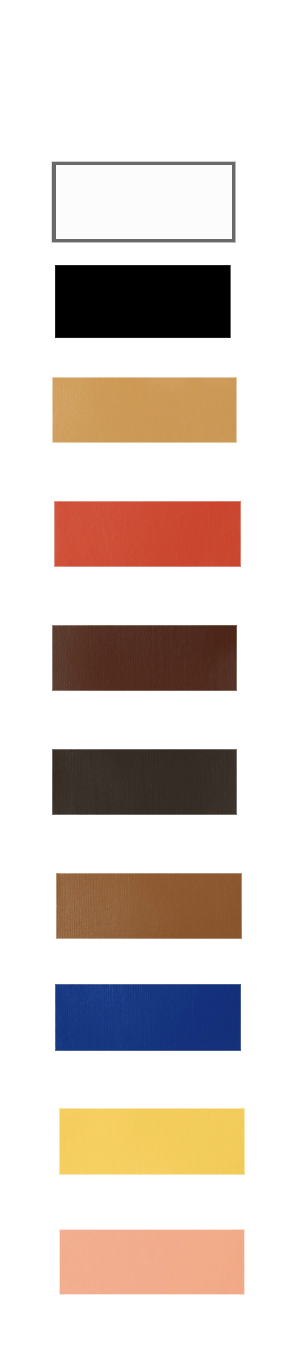
Titanium White
MARS Black
Naples Yellow Hue
Cadmium Red Medium
Burnt Sienna
Burnt Umber
Raw Sienna
COBALT Blue
CADMIUM Yellow LIGHT
LIGHT PINK

Pro Tip:
Heavy Body Acrylics are best for blending. They dry slower and have a thicker consistency, which gives you more time to work with them. Try using minimal water when painting, to not thin them down too much.
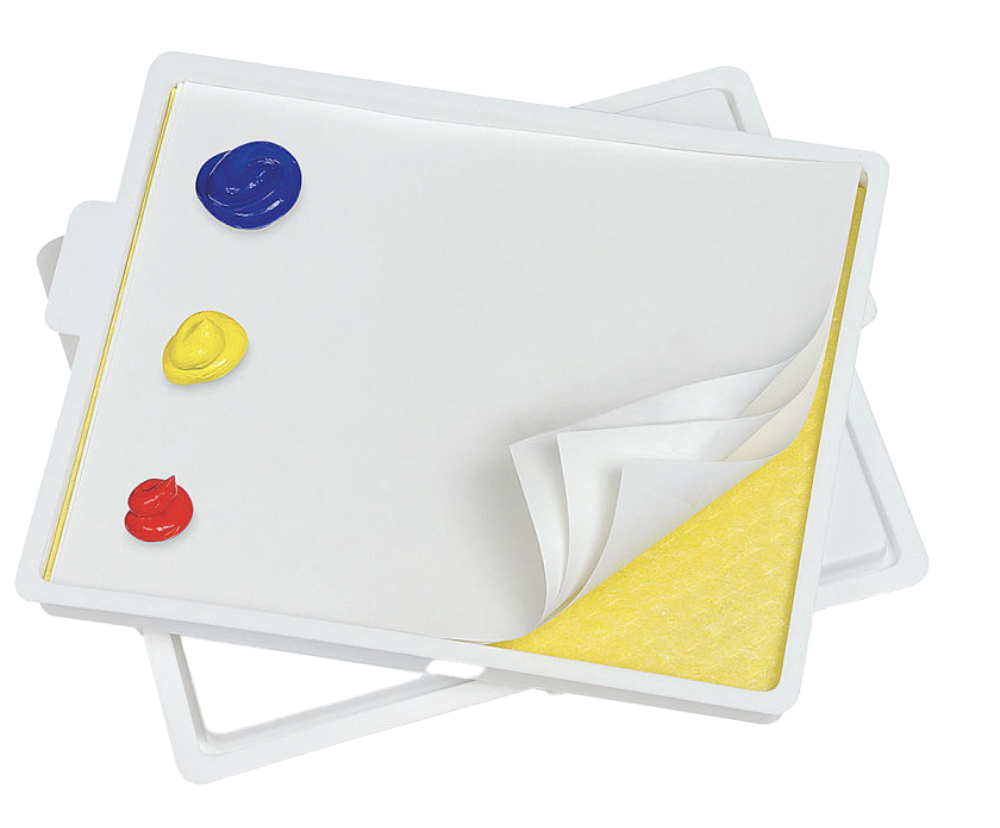
My Paint Palette
To keep my paint from drying out and being able to use the same mixed paints in a future paint session, I am using the Masterson Sta-Wet Handy Palette. It will save you so much money on paint and time on remixing paint! The Palette has a sponge underneath an acrylic paper sheet (which is also cleanable, so you can reuse it!). It comes with five Sta-Wet palette paper sheets and one sponge insert. Replacement sheets and sponge inserts are also sold separately.
I would also recommend a little spray bottle to keep the paint wet on top while painting.

SKETCHING.
Sketching requires only few items, depending on what method you are using. I personally use a projector, an acrylic pen and my MacBook.
PROJECTOR method:
How to do it right:
Make sure the painting is on a flat surface (ex. canvas).
Make sure the projector hits the canvas from the right angle so the image is not warped.
Use an acrylic pen DO NOT (!!!) use a sharpie, trust me.
Use a reference photo on your phone while you sketch to see the details.
Here are three choices at different price points (low to high). I have personally tested them all. They all get the job done very well.
However, Crenova has the highest resolution, which shows most details while sketching and is bright enough to see details even in daylight.

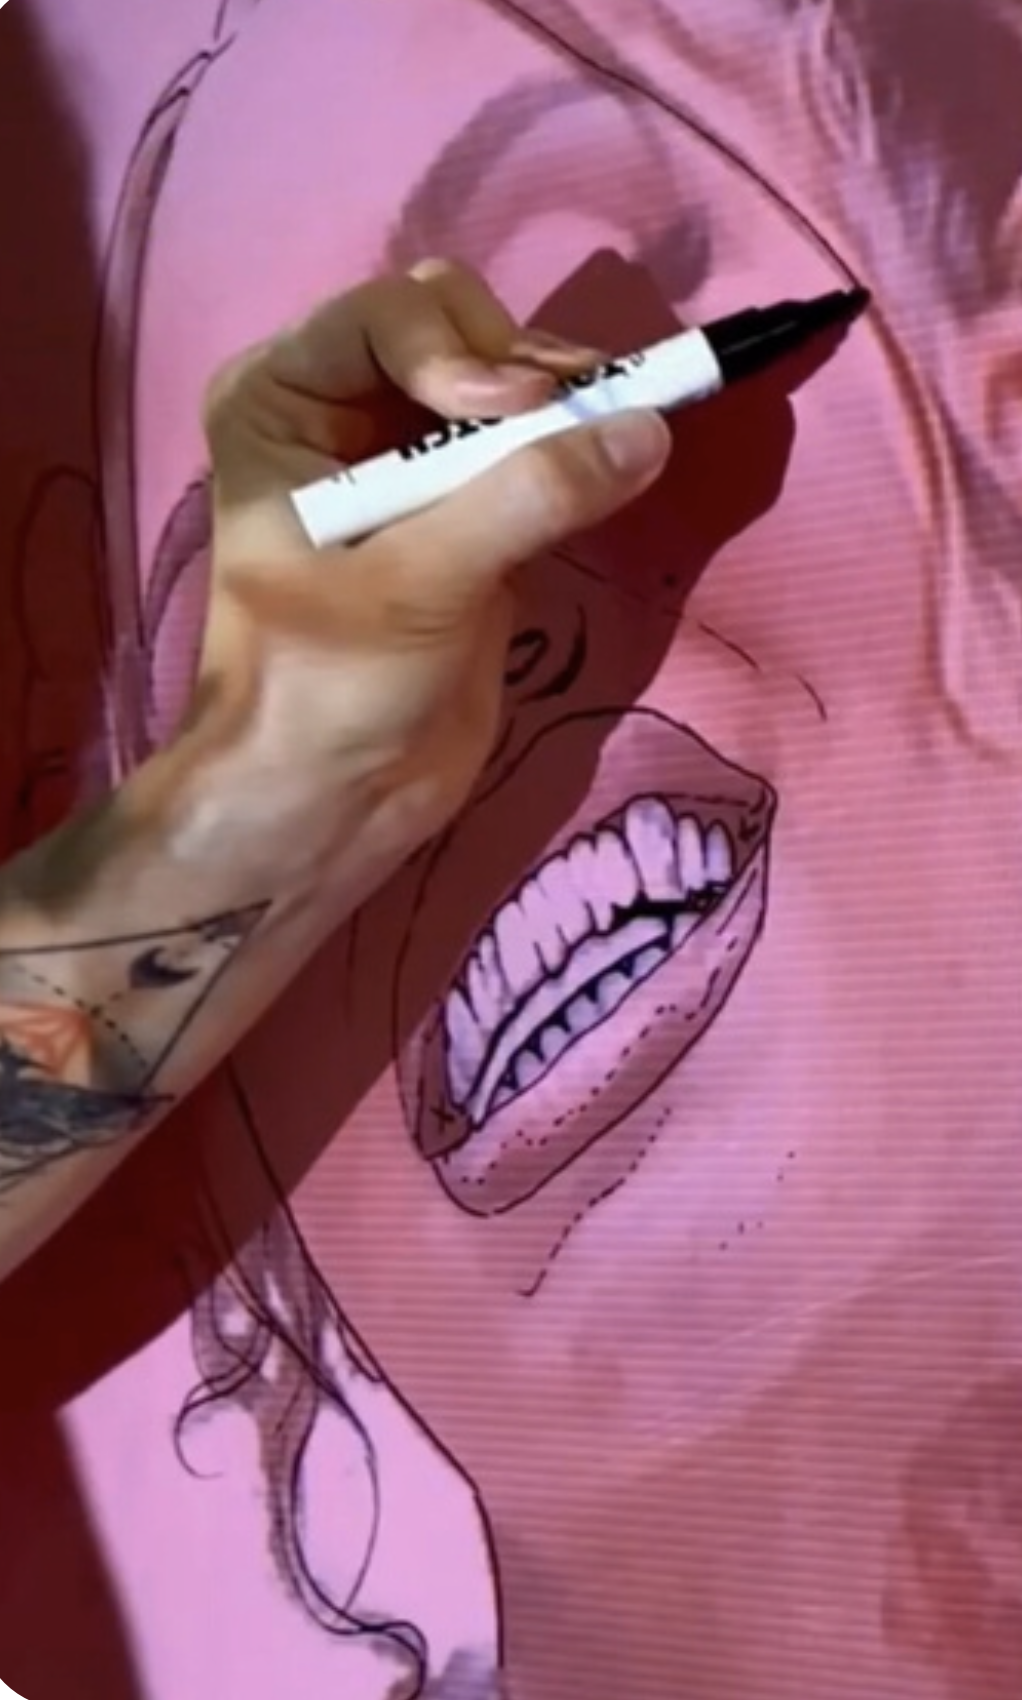
ACRYLIC PAINT MARKERS.
Make sure to use an acrylic paint marker. If you use a sharpie or other pens, the sketch will later bleed through the paint in a yellow hue or chances are, that they smear once you paint over them.
Buy on Amazon:
Buy on BLICK:
DECOCOLORS ACRYLIC PAINT MARKER, FINE
Depending on your painting, you might want to try another color other than black for your sketch. Since black may require you to paint over the sketching lines multiple times. I sometimes use red or yellow.
Pro Tip:
A lot of people criticize this method of sketching... but even more people use it! You’d be surprised how many artists use a projector but don’t talk about it. Use whatever method works best for YOU!
THE CANVAS.
Sometimes I use pre-stretched canvases, but most of the time I build my own. Here are the resources for both:
STRETCHED CANVAS.
I buy my stretched canvases from two different stores. Either in bulk, whenever Michael’s offers a bulk sale (Buy 2 get 2 FREE) or on Blick.com. If I buy in bulk at Michael’s I usually go for Michael’s brand Artist’s Loft and buy their Level 3 Gallery Wrapped Heavy Duty Canvas. I always go for canvases with a 1.5" profile (depth), which gives the painting a high-quality appearance.
Buy on BLICK:
Price low to high:
BLICK PREMIER STRETCHED COTTON CANVAS (1-1/2" Depth)
NOTE:
For an quick explanation of all supplies and short tutorials on how to build and stretch a canvas check out my QUICK ART GUIDE. If you want to learn the entire process in more depth, check out my ART COURSE.
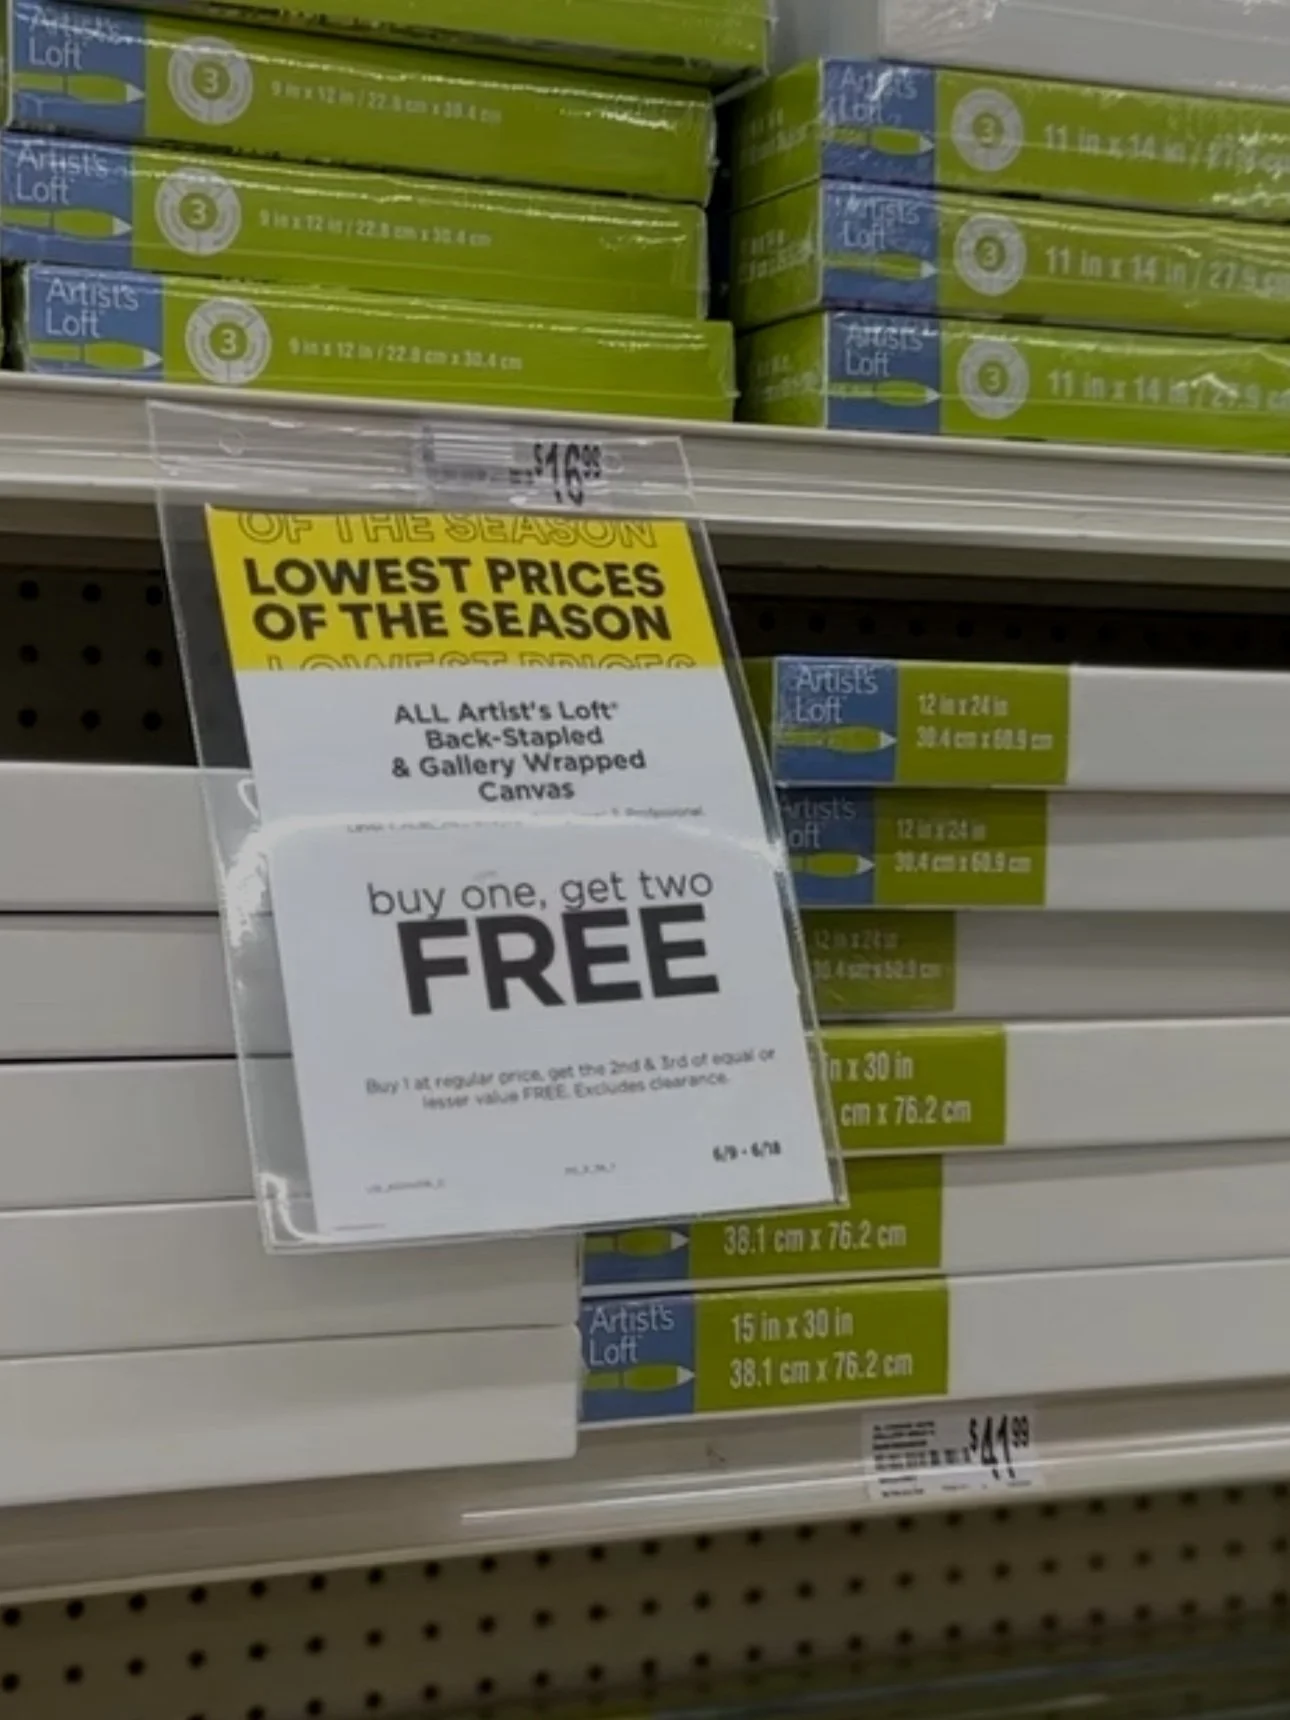
BUDGET Tip:
Michael’s sometimes offers a bulk sale, where you can buy 2 and get 2 canvases FREE! (Used to be Buy 1 get 2 free). Otherwise Blick.com is your cheapest option.
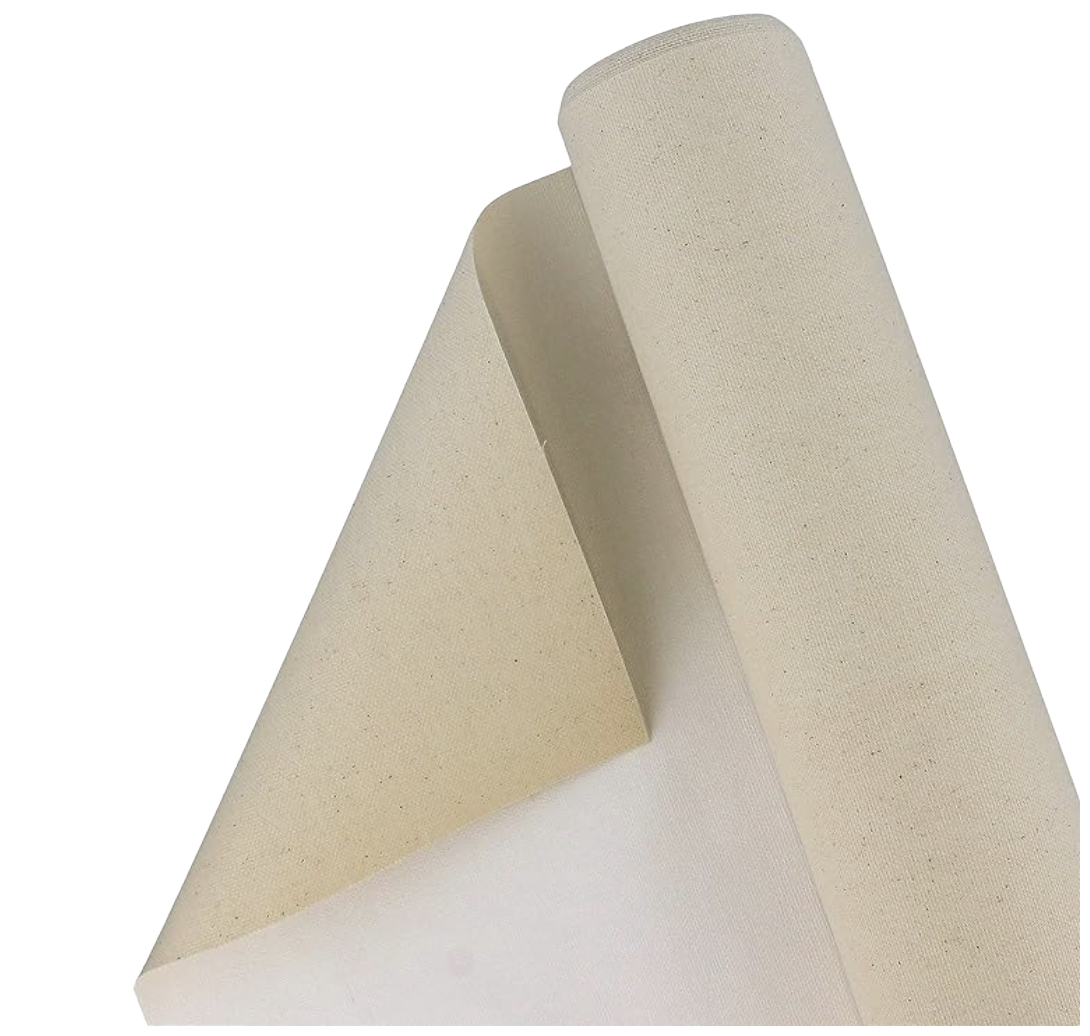
UNSTRETCHED CANVAS.
Building your own canvas takes more time, but gives you a lot more freedom in the choice of size & is also a cheaper option.
Building your own canvas can be a cheaper option, especially if you are building very big canvases.
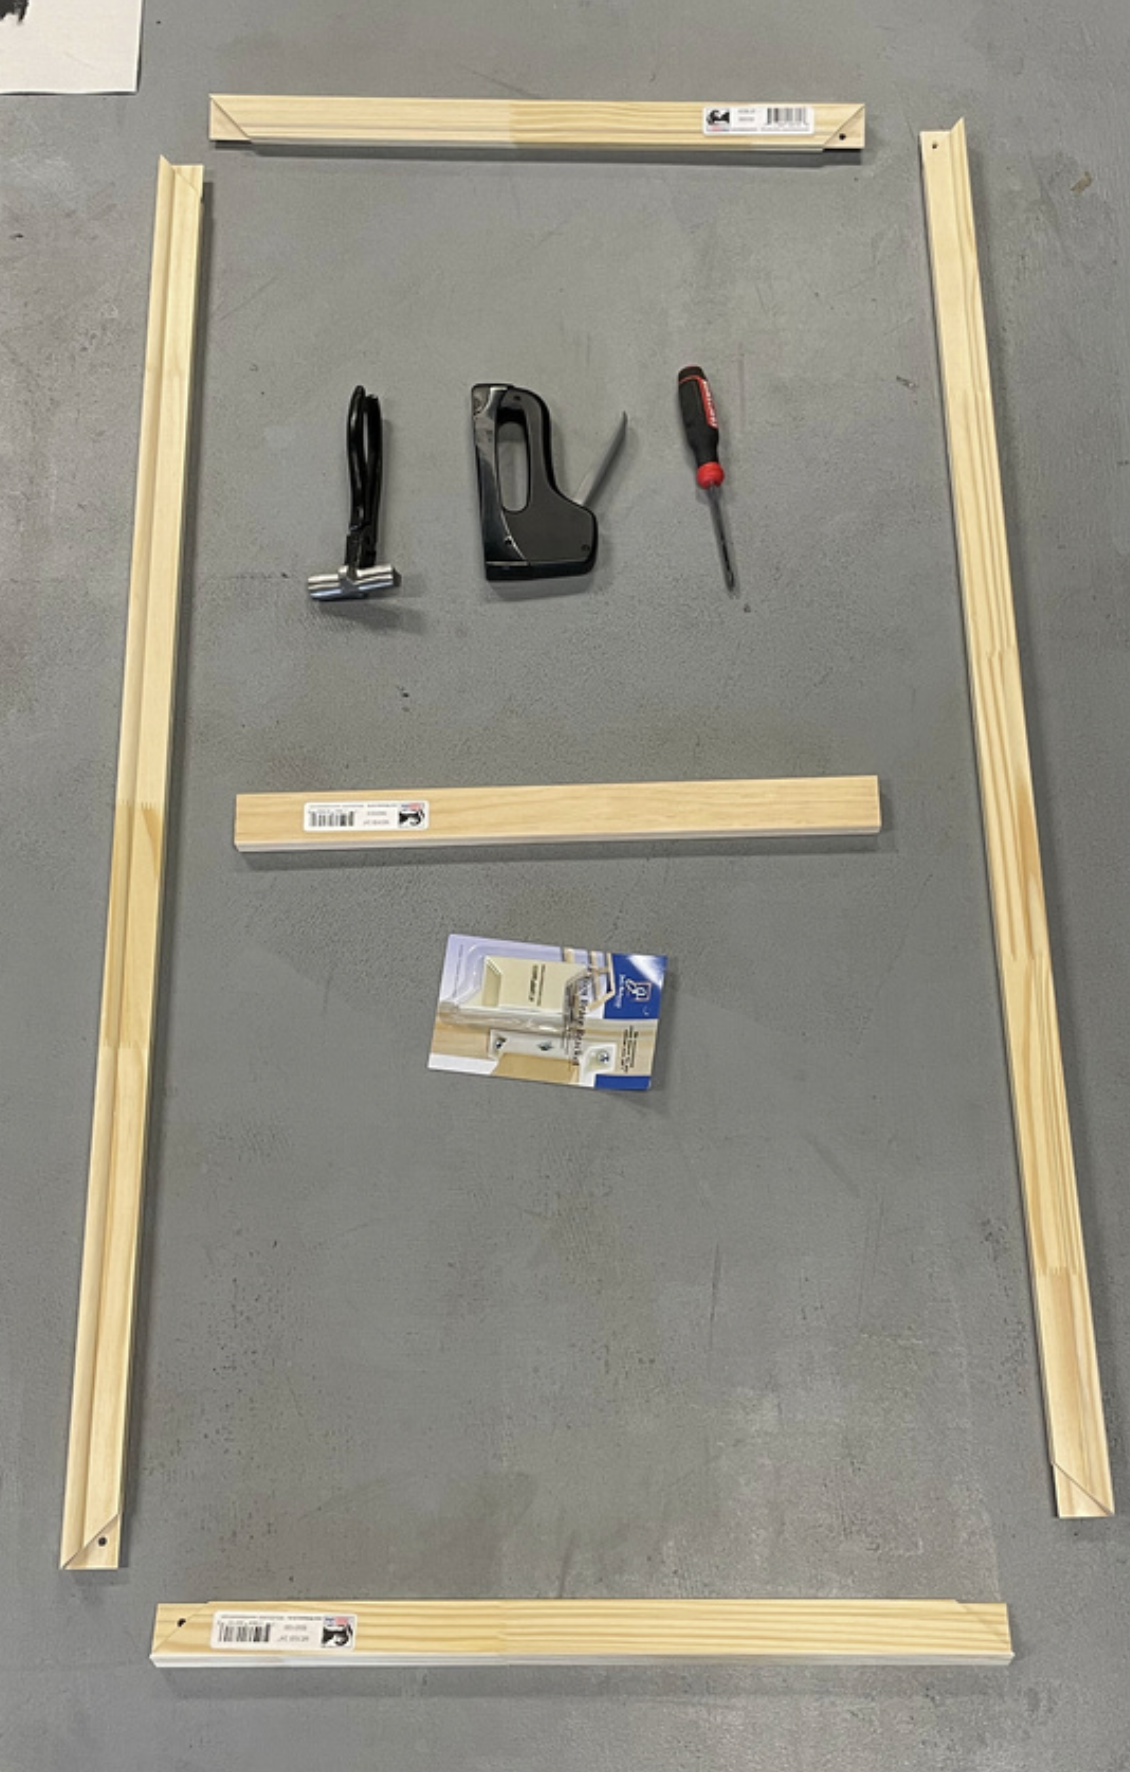
To build your own canvas you will need: canvas cloth, stretcher bars, canvas pliers & a staple gun. Additionally you may need a pen, ruler or measurement tape, staple remover & scissors.
Buy on AMAZON:
Buy on BLICK:
Stretcher Bars & Cross-Braces are best bought from Blick. Cross-Braces are used to reinforce larger canvas sizes. Here are three choices at different price points (I use Best Medium Duty Stretcher Bars).
STRETCHER BARS
STANDARD | MEDIUM DUTY | HEAVY DUTY
CROSS BRACES:
Note — Prices are per strip, not per pair.
TIP: If the frame you're constructing measures 36" or longer in either direction, it is recommended adding a cross brace every 36" as a rule of thumb. Check out this layout suggestion sheet.
PRO Tip:
When stretching your canvas work in a diamond pattern, meaning stapling from the center of each stretcher bar towards the corners evenly. The canvas should sound a little like a drum when you lightly tap it, once done stretching. My art course covers how to build a canvas in depth.

TOP COAT & RESIN.
I use two different coating methods, a simple top coat varnish and epoxy resin.
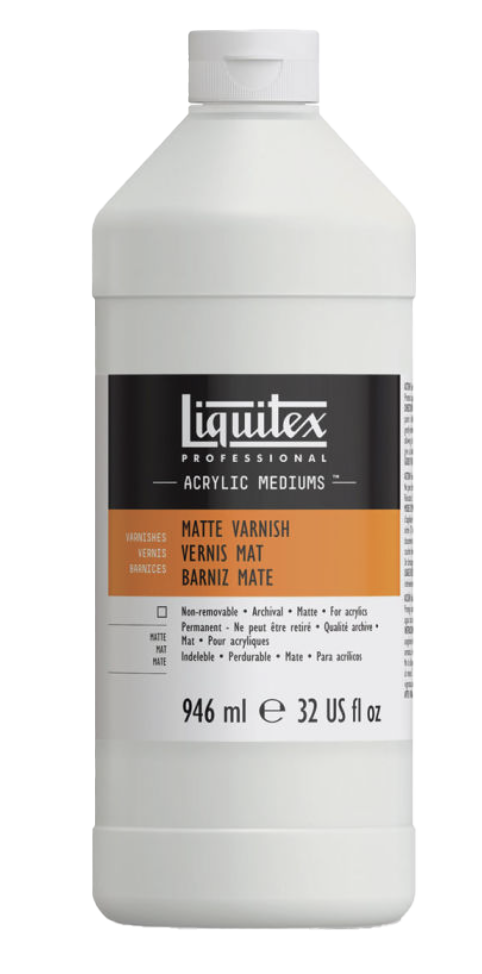
Varnish top coats are the most straight forward and easy way to protect your finished painting. They come in different finishes: matte, high-gloss, satin and gloss. You can choose the finish based on the look you would like to achieve for your painting. I personally love the matte varnish, since it flattens the painting and lets you take photos of your art without any annoying reflections in the photo.
Tip: Let your painting dry at least 24-48 hours before applying the top coat. Don’t panic about a white layer when using the matte varnish, let it fully dry and it will disappear. Make sure to use a sponge brush to apply varnish (link below).
LIQUITEX VARNISH.
Pro Tip:
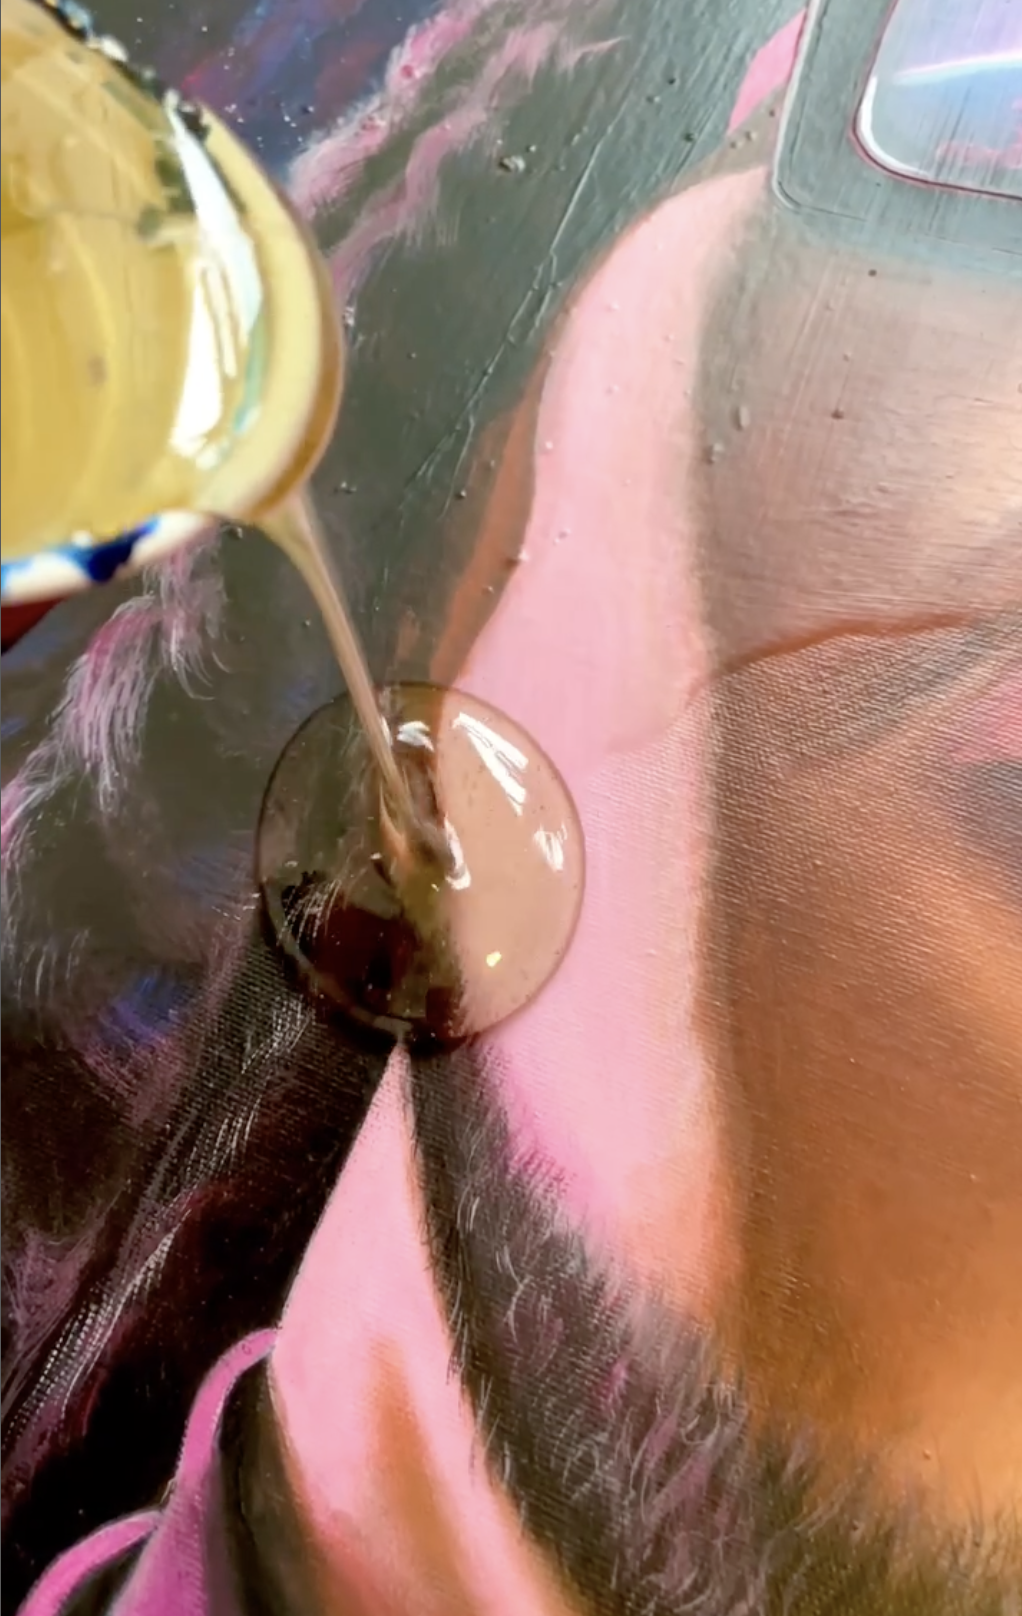
Bubbles are normal when pouring, use a torch to make them pop! Also make sure to stir the resin slowly to avoid creating too many bubbles to begin with.
Click here for Instagram Tutorial
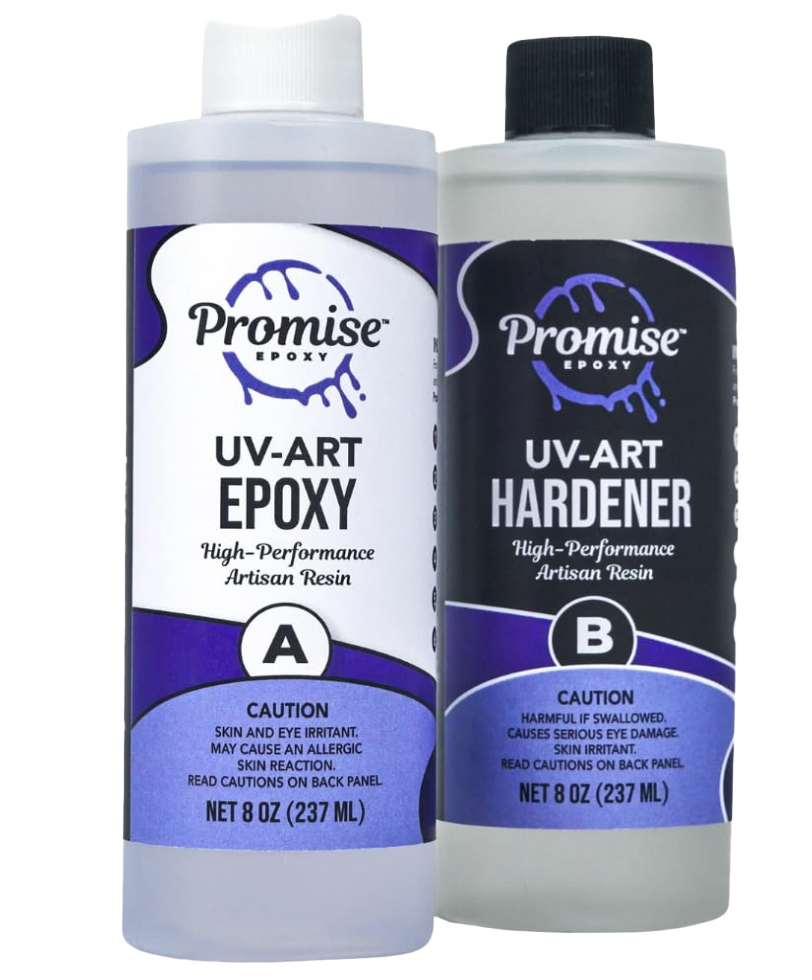
EPOXY RESIN.
Coating your finished painting with Epoxy Resin might seem intimidating at first, but trust me, the results are sooo worth the mess the coating process causes! It definitely took me some trial and error to figure out how to master the process. While this guide only covers basics, my art course is covering the detailed process, where you'll learn everything you need to know – sign up for it here! Below, I will link all the needed supplies.
Caution: Please be cautious when working with resin and always work in a well-ventilated room while using a mask, to avoid inhaling its toxic fumes.
Pro Tip:
It will be a mess! You will need lots of gloves, cardboard, plastic cups & patience! Try using everything disposable, even clothing. Tip: rubbing alcohol can clean small spots of wet resin.
NOTE.
Coating your finished painting with Epoxy Resin might seem intimidating at first, but trust me, the results are sooo worth the mess the coating process causes! It definitely took me some trial and error to figure out how to master the process. While this list only covers the basic supplies, my ART COURSE is covering the detailed process, where you'll learn everything you need to know – sign up for it here!
OTHER SUPPLIES.
Here is a list of all the art supplies I am using, that did not match any of the other categories above.
Phew! That was a lot…
… of information, but I hope it gave you a good sense of the art supplies I use and why I love them. Finding the right tools is crucial, and I wanted to make sure you have all the options at your fingertips. Especially the most budget-friendly ones! Remember, art is a journey, not a destination. So grab your supplies, embrace your creativity, and most importantly, have fun!
NEXT STEPS.
A HUGE THANK YOU...
…to trusting me, reading through my Art Supply List and maybe even to purchase through the affiliate links. Your support means the world to me, and makes it possible for me to help more artists achieve their artistic goals!
Are you interested in learning more? Sign up for my art course, which covers all the topics in this list and more. You will learn to paint like me, using real time videos, tutorials, art tips, and lots of more art resources.

You can follow me on all social media platforms. Please feel free to reach out to me with any questions.